
/creative-studio-v2
Overview
The My Assets tab stores all your uploaded brand assets including logos, product images, team photos, and custom graphics. These assets are available across all Marketing Titan tools for consistent branding in your campaigns.
Step 1: Access My Assets
Click Creative Studio in the sidebar, then select the My Assets tab. Your uploaded assets are displayed in a grid with previews.
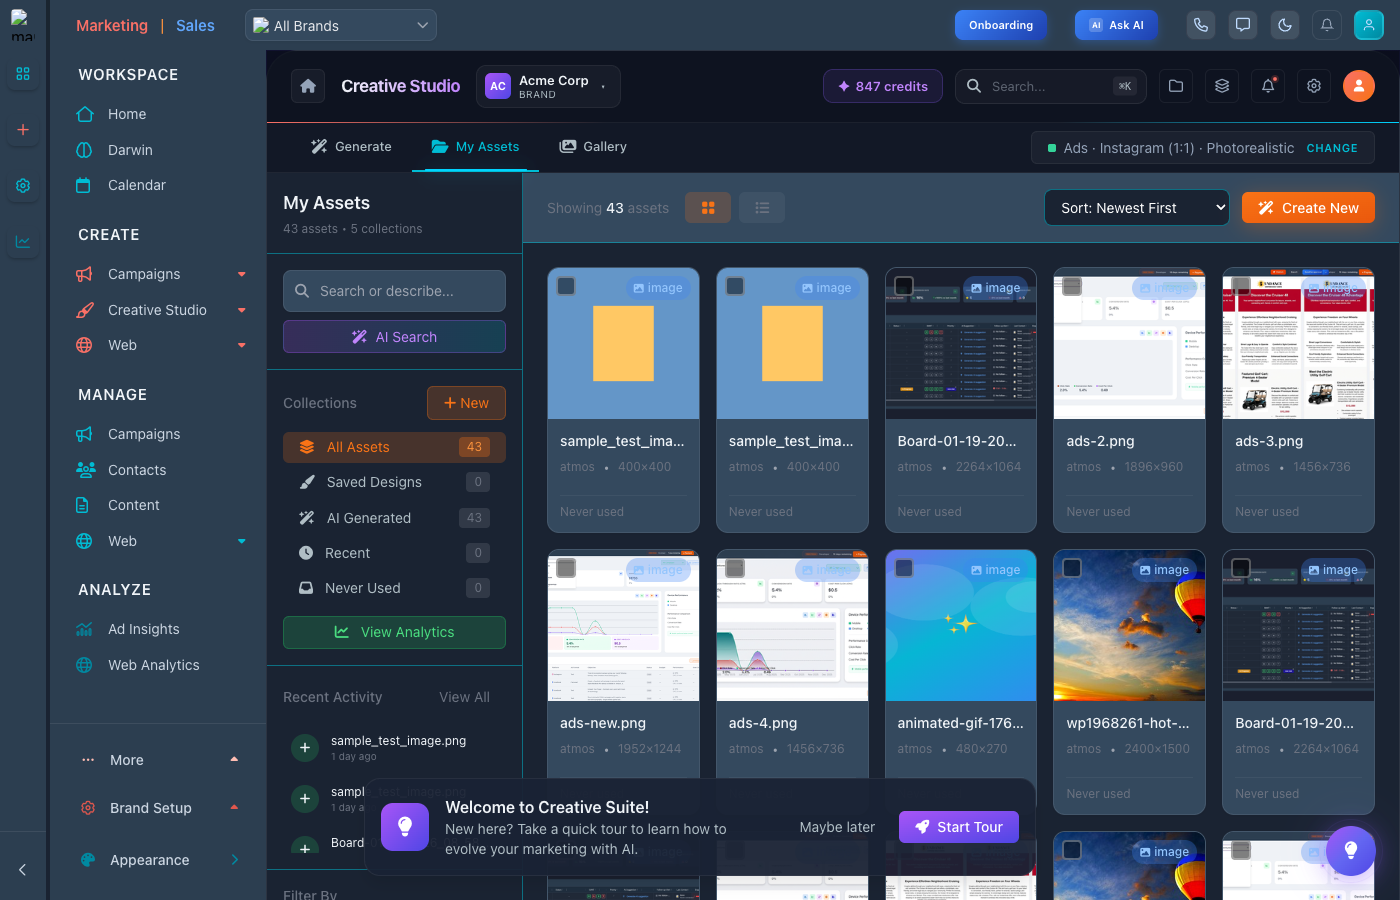
Your uploaded brand assets organized for easy access
Step 2: Upload New Assets
Click the Upload button or drag and drop files directly into the tab:
- Supported formats - PNG, JPG, SVG, GIF, WebP
- Max file size - 50MB per file
- Bulk upload - Upload multiple files at once
- Auto-optimization - Files are automatically optimized for web use
Step 3: Organize with Folders
Keep your assets organized by creating folders:
- Click New Folder to create a category
- Name it descriptively (e.g., "Product Photos", "Logos", "Team")
- Drag assets into folders to organize them
- Use subfolders for more detailed organization
Step 4: Use Assets in Campaigns
Your assets are available across all Marketing Titan tools:
- Email Builder - Insert images directly from My Assets
- Social Posts - Use brand images in social content
- Ad Creatives - Pull product images for ads
- Design Canvas - Access all assets while designing
Tips for My Assets
- Use descriptive names - Name files clearly for easy searching
- Add tags - Tag assets with keywords for better filtering
- Upload variations - Keep different sizes/formats of important assets
- Regular cleanup - Remove outdated assets to keep the library fresh