
New Recording opens the studio. Pick what to capture along the top — Camera, Screen, Slides, or Audio — set your look on the left, and record with the big red Record button (a countdown runs first).
Where to find it: Left menu → Marketing → Creative Studio → Record → New Recording. Part of the Recordings guide.
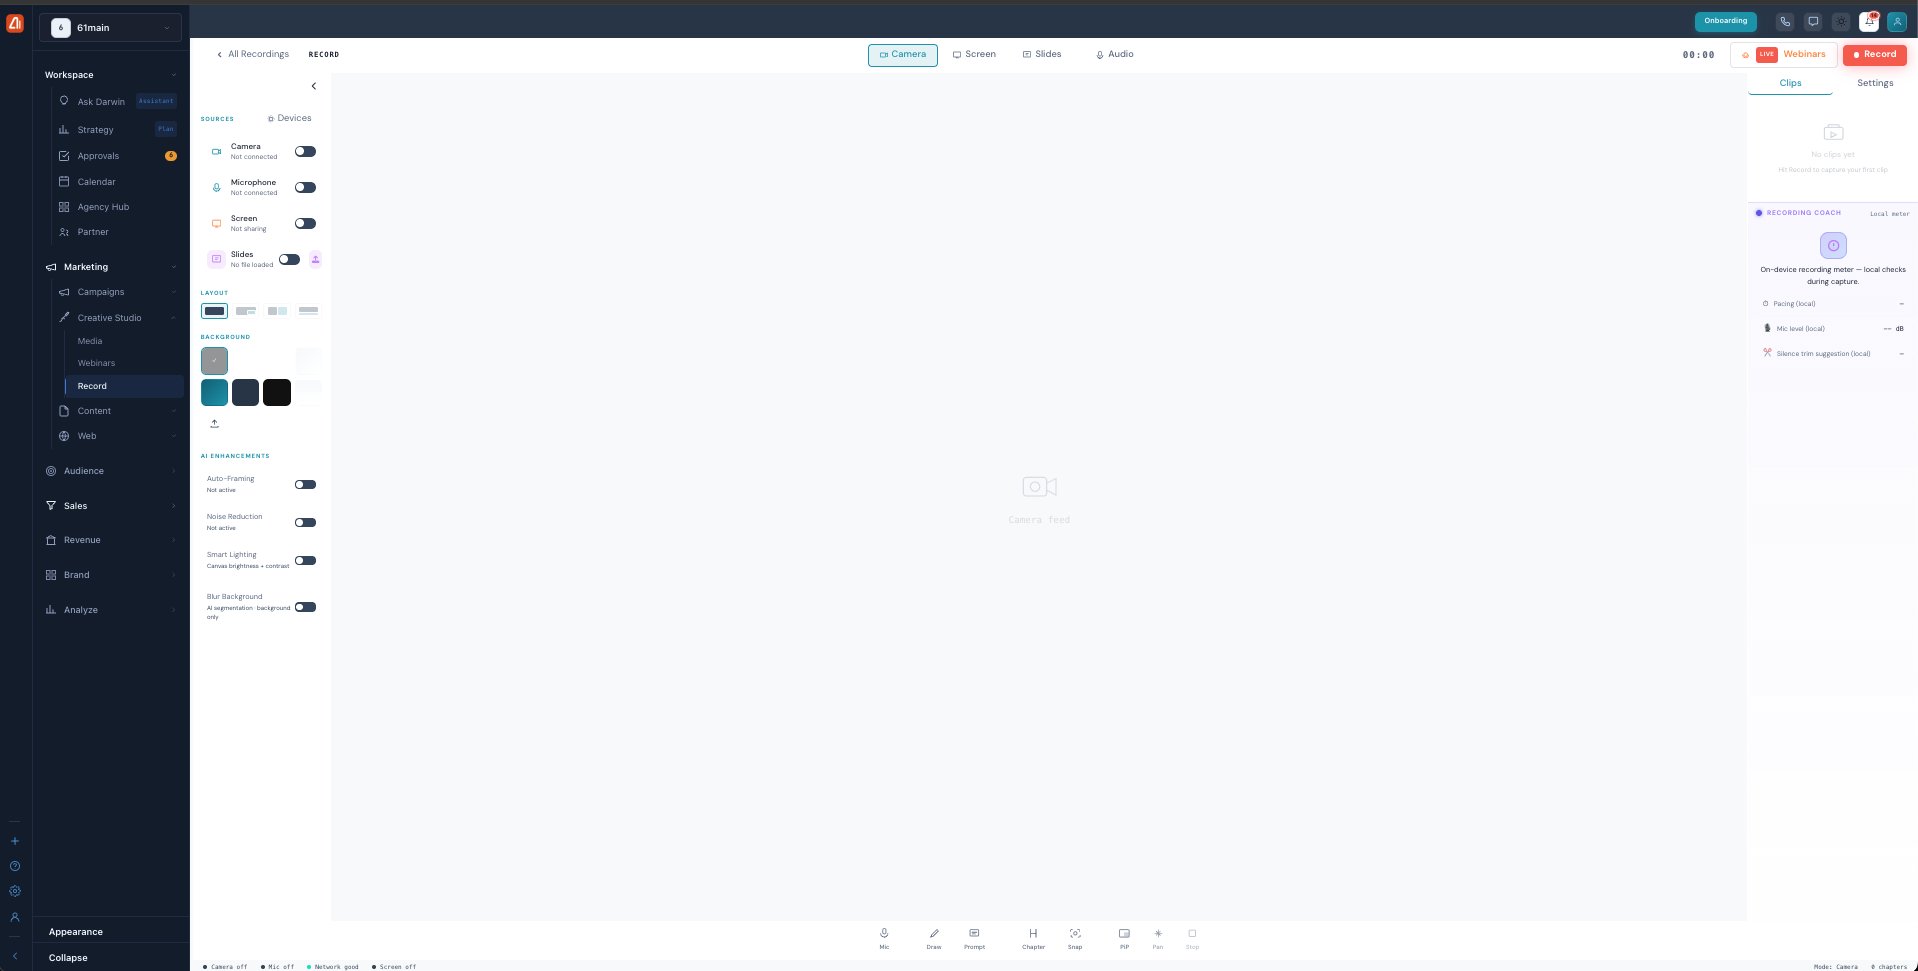
The recording studio — pick your sources, layout and background, turn on AI enhancements, then hit Record.
Choose what to capture
The tabs across the top switch the capture mode, and the Sources panel toggles each input on or off:
| Mode | What it captures |
|---|---|
| Camera | Your webcam — a talking-head video. |
| Screen | Your screen or a window (a Snap thumbnail appears when you grab a still). |
| Slides | An uploaded deck — page through with the 1 / 3 pager. |
| Audio | Microphone only — an Audio Only mode with a live mic meter. |
Use Devices to pick which camera and microphone to use. You can combine sources — for example Screen + Microphone + Slides at once.
Screen, slides & audio modes
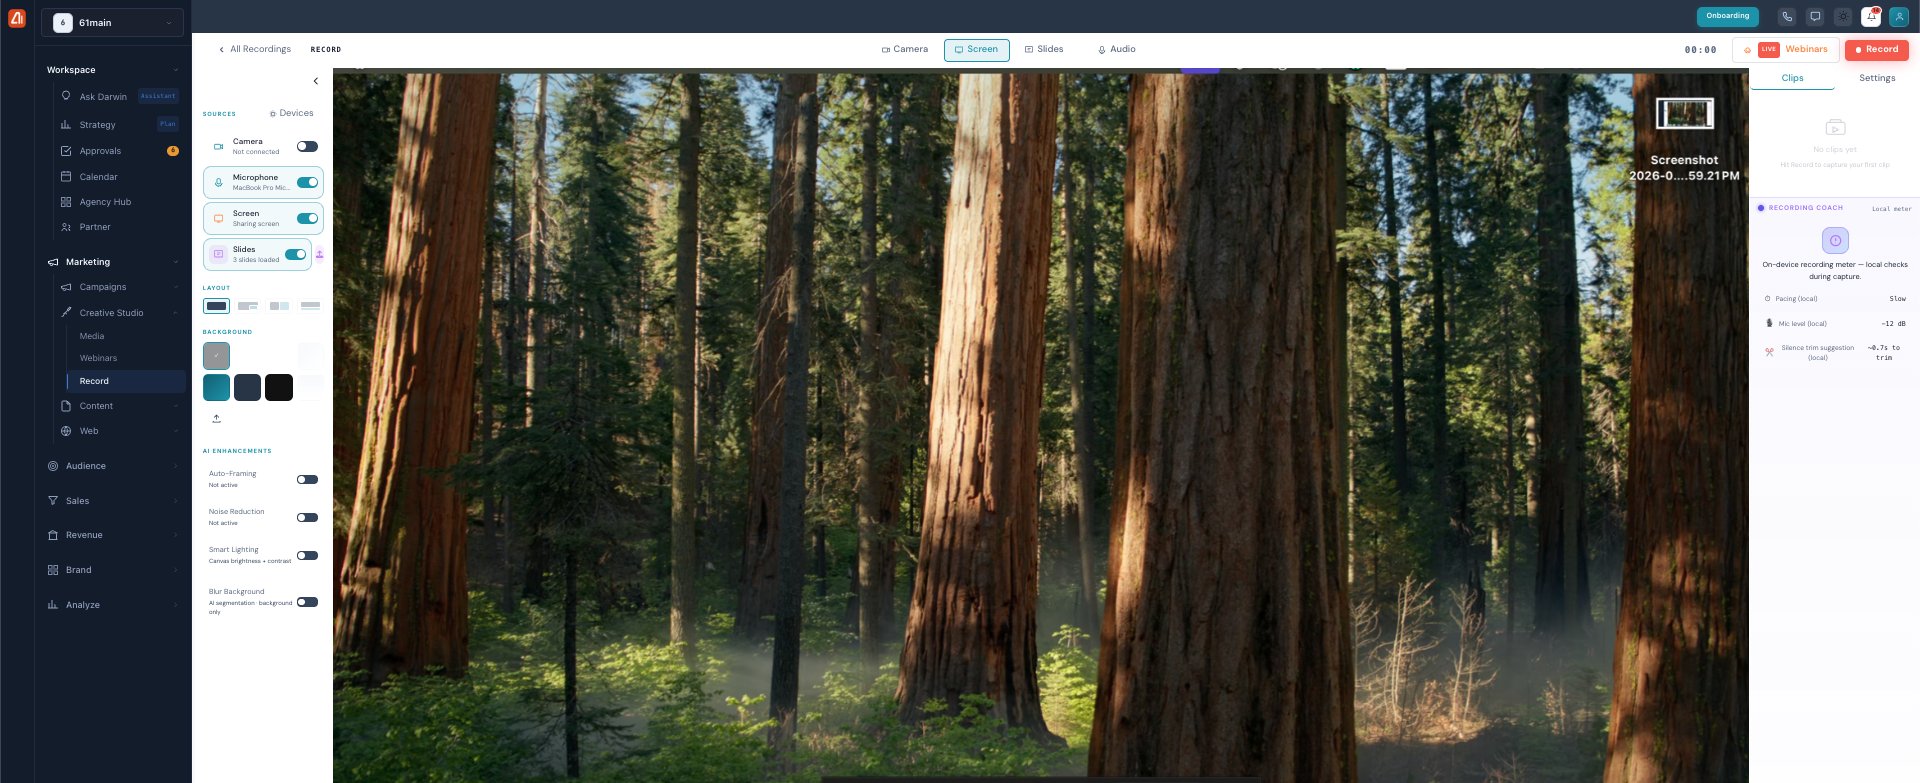
Screen mode — share your screen; Snap grabs a still while you record.
Screen shares your desktop or a window. Slides loads a deck (“3 slides loaded”) and shows the current slide with a pager. Audio switches to a mic-only view with a level meter for podcast-style captures.
Layout & background
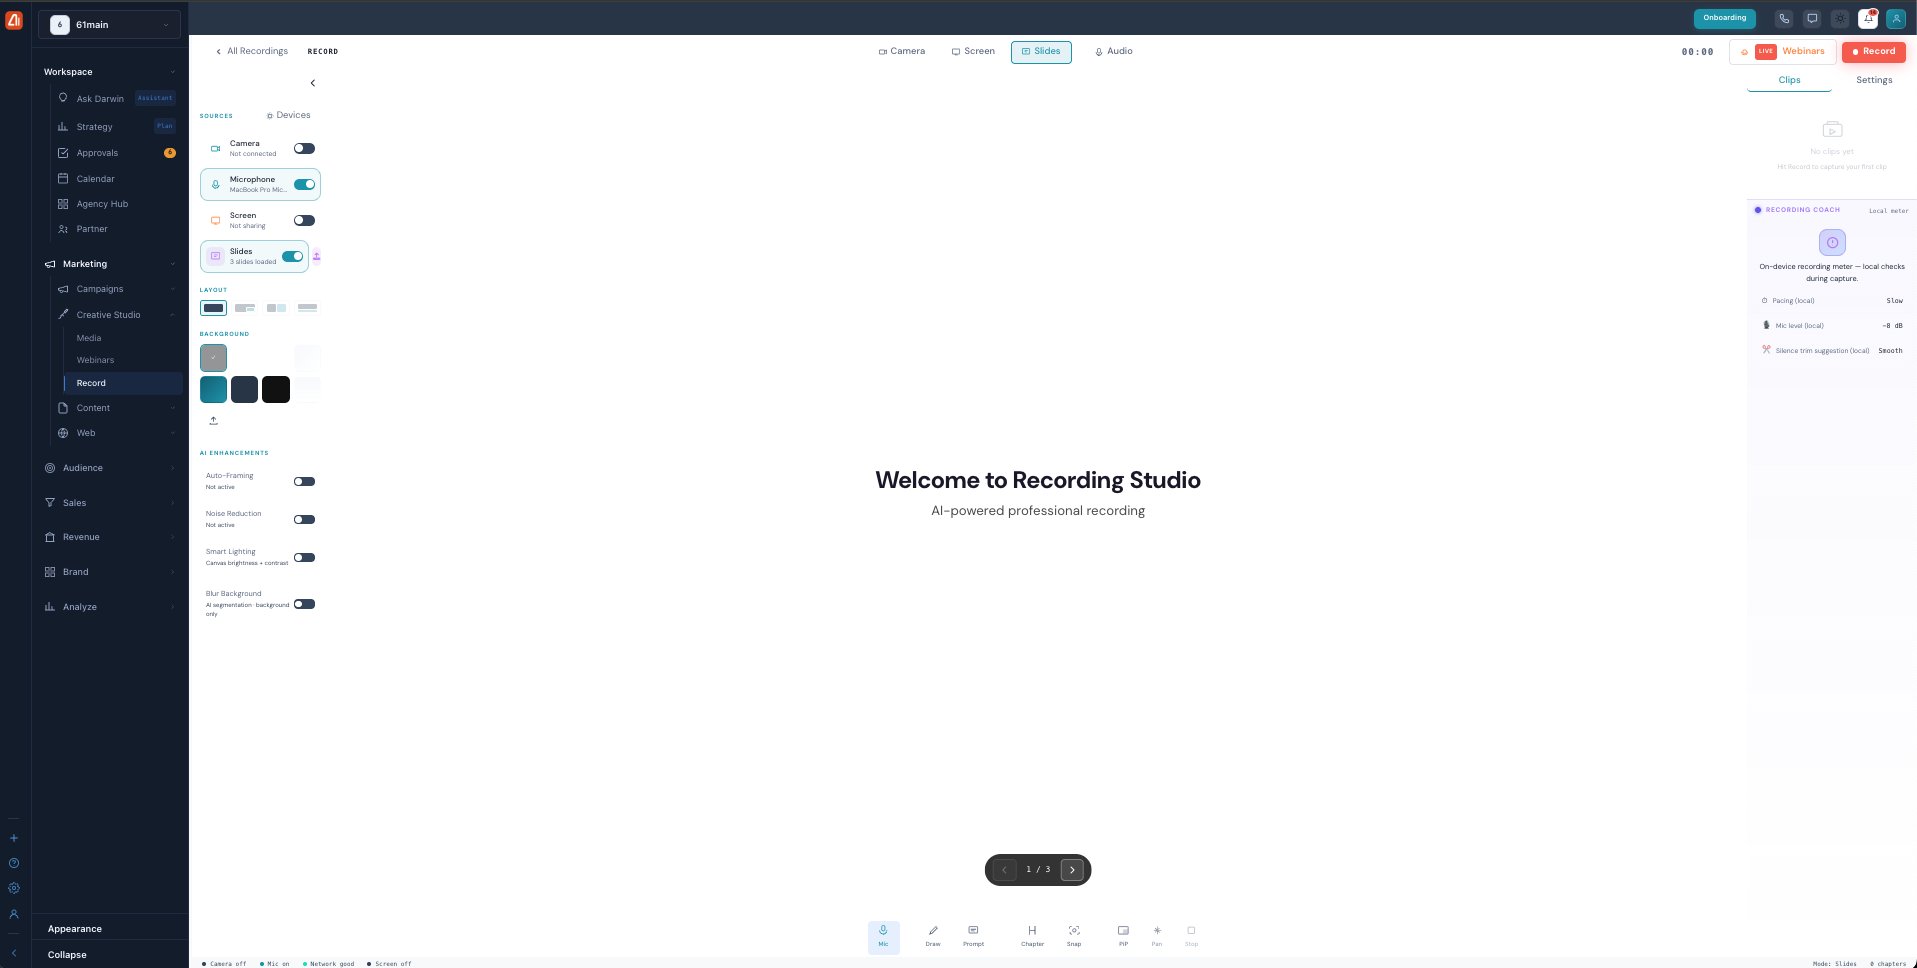
Layout and background — arrange camera + screen and pick or upload a backdrop.
Under Layout, choose how camera and screen sit together (full, side-by-side, picture-in-picture). Under Background, change your video background — pick a color swatch or use the upload button to add your own image.
AI enhancements
Toggle Darwin’s live enhancements while you record:
| Enhancement | What it does |
|---|---|
| Auto-Framing | Keeps you centered as you move. |
| Noise Reduction | Cleans background noise from your mic. |
| Smart Lighting | Balances canvas brightness and contrast. |
| Blur Background | AI segmentation blurs behind you (background only). |
The recording toolbar
Along the bottom of the stage are the live controls you use while recording:
| Control | What it does |
|---|---|
| Mic | Mute or unmute your microphone. |
| Draw | Annotate live — draw on the screen while recording. |
| Prompt | Show a teleprompter script only you can see. |
| Chapter | Drop a chapter marker at this moment. |
| Snap | Grab a screenshot still from the capture. |
| PIP | Toggle picture-in-picture (camera over screen). |
| Pan | Pan and zoom around the screen area. |
| Stop | End the recording and send it to your library. |
Recording Coach & clips
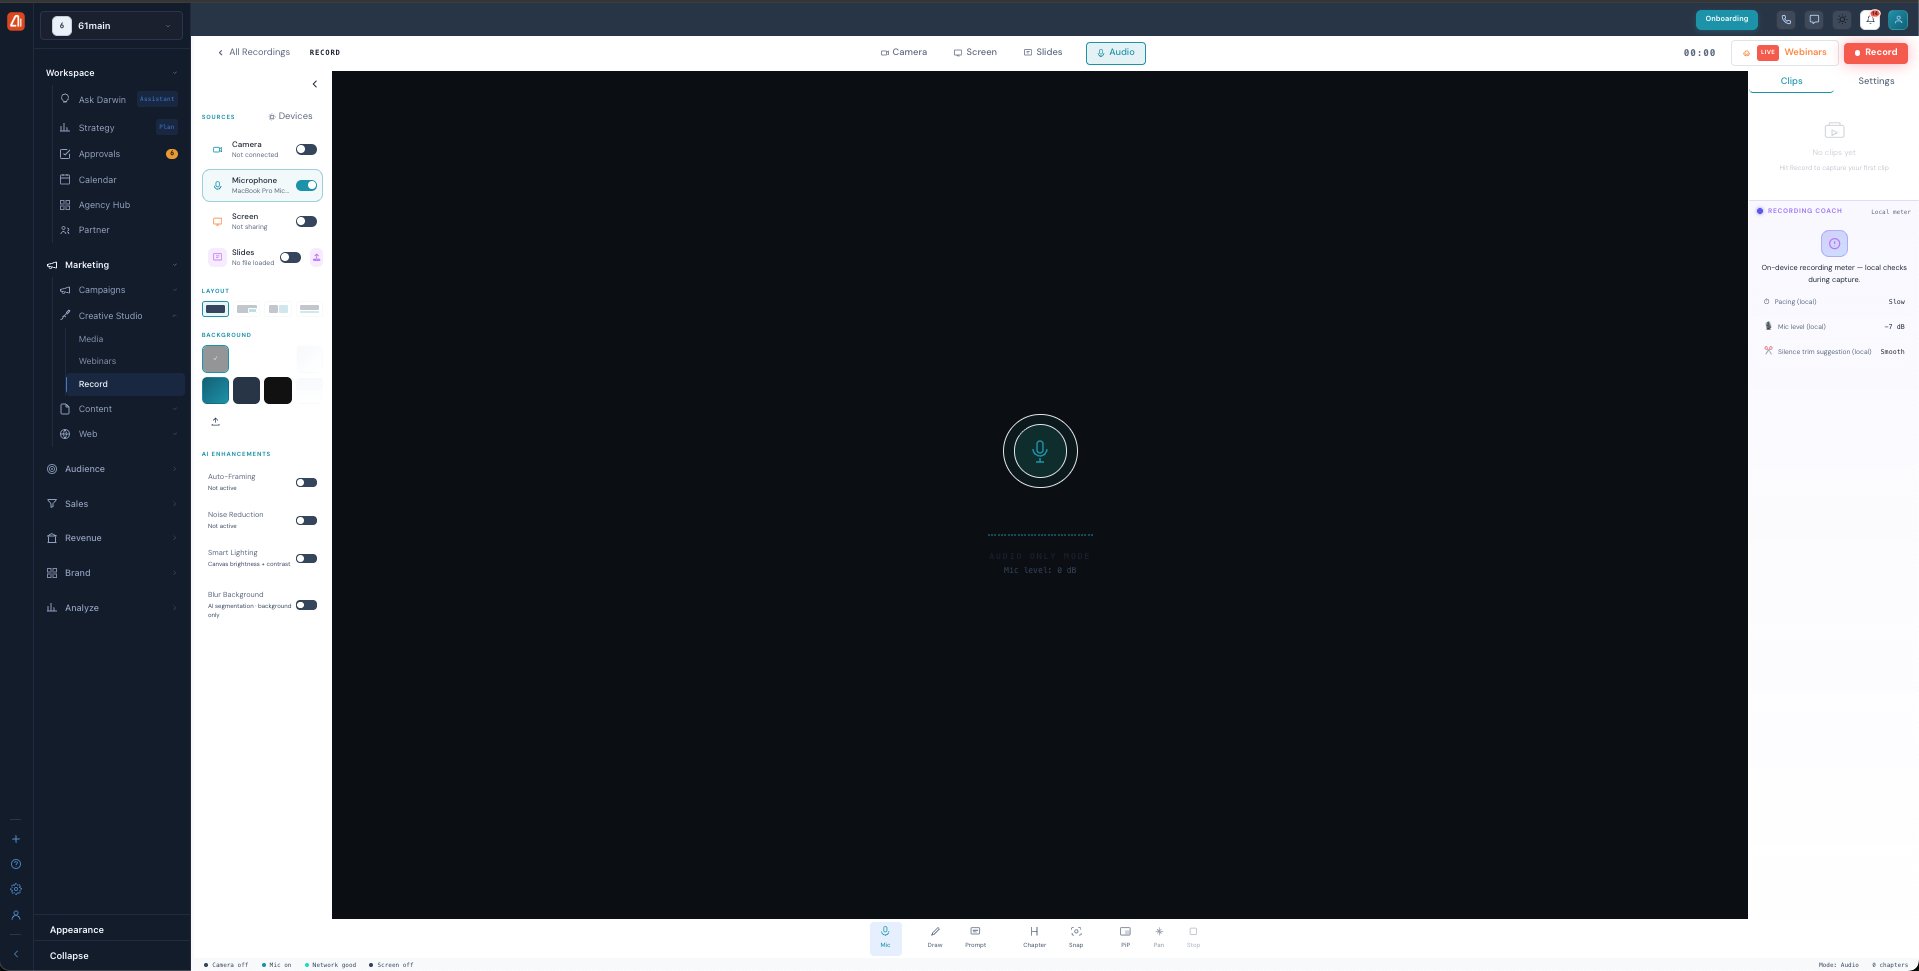
The Recording Coach checks pacing, mic level, and silence right on your device.
The Recording Coach panel gives live, on-device feedback — Pacing (slow / good / fast), Mic level in dB, and a Silence-trim suggestion — so you can adjust as you go. The Clips tab collects the segments you capture, and Settings holds quality and format options.
What’s next
- Back to the Recordings overview.
- See Recording settings.
- See Manage a recording.