
The Record studio captures camera, screen, slides, or audio — then everything you make lives in Recordings, where you manage, edit, and publish it. Darwin AI helps as you record and can transcribe afterward.
Where to find it: Left menu → Marketing → Creative Studio → Record.
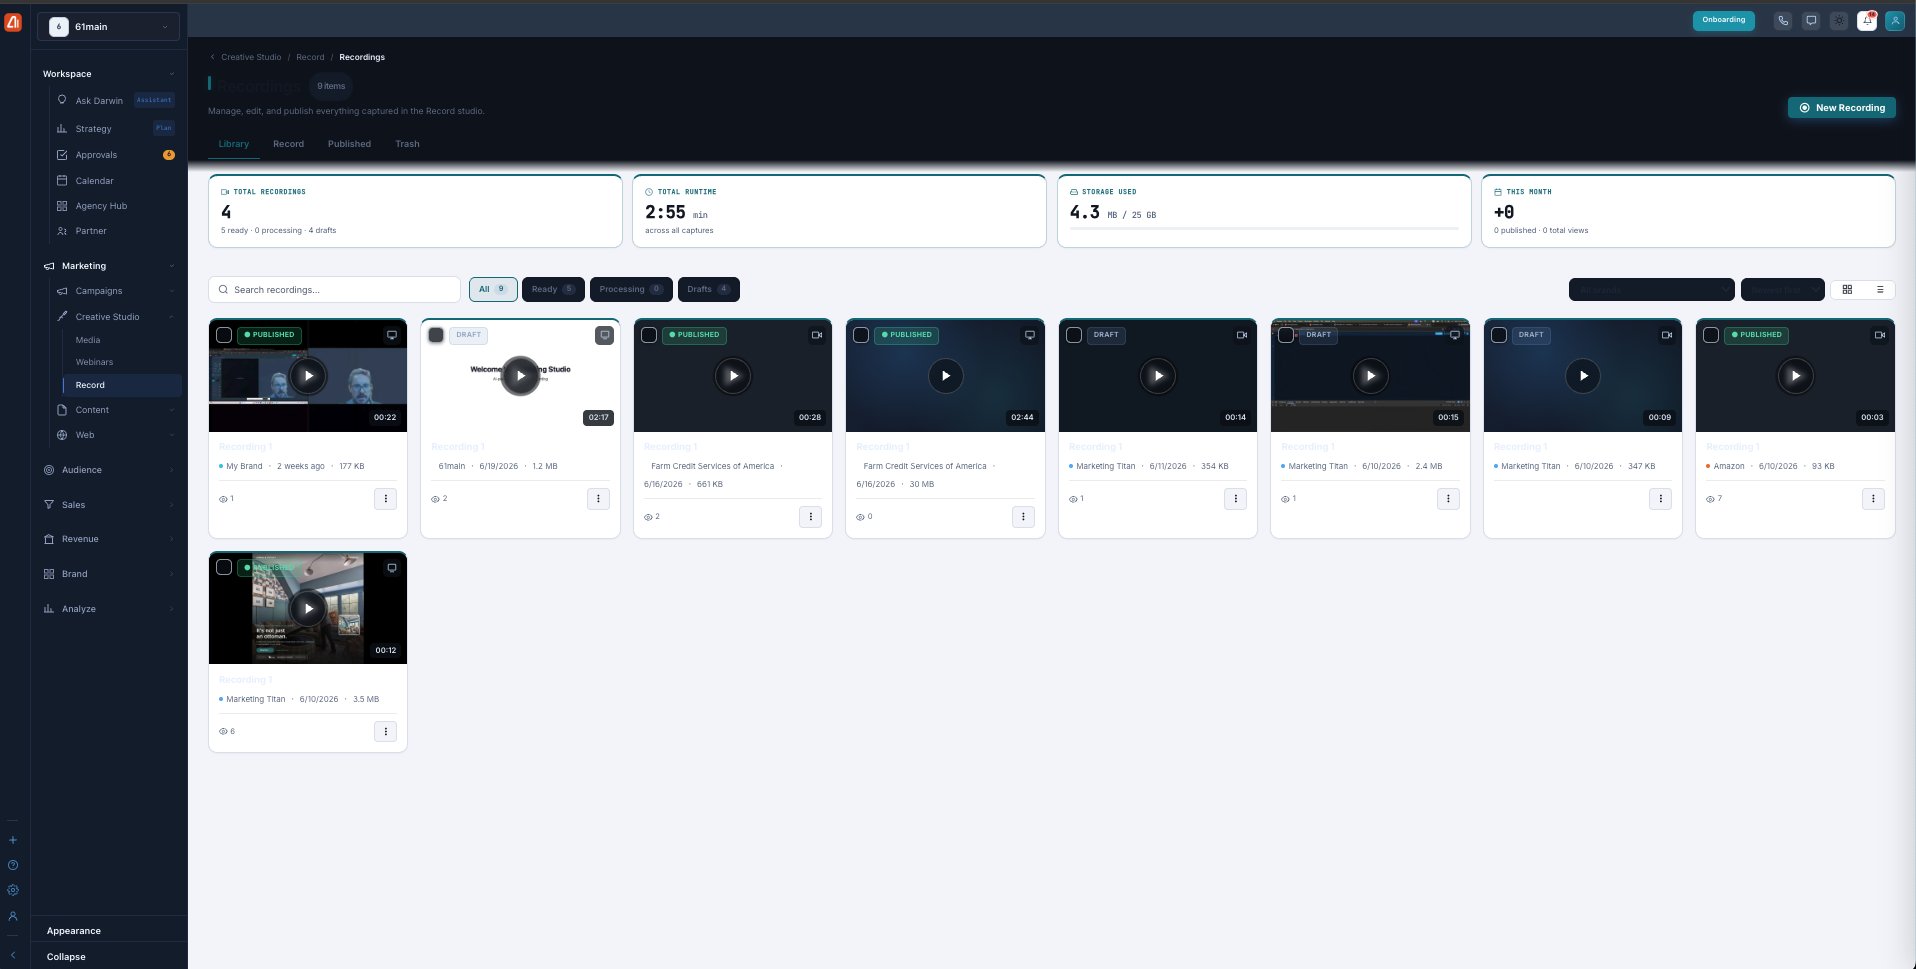
The Recordings library — every capture, its status, and its actions.
The library dashboard
The top cards track Total Recordings, Total Runtime, Storage Used (against your plan), and This Month. Tabs organize your captures — Library (everything), Record (open the studio), Published, and Trash. Search, filter by All / Ready / Processing / Drafts, and switch between grid and list views. New Recording opens the studio.
What each recording card shows
Every card has a thumbnail with a play button and length, a Published or Draft badge, the brand, the date and file size, a view count, and a ⋮ menu for quick actions (edit, download, share, publish, move to trash).
Everything you can do — each has its own guide
| Area | What it covers | Guide |
|---|---|---|
| The recording studio | Capture camera/screen/slides/audio, layouts, backgrounds, AI enhancements, live toolbar. | Open → |
| Recording settings | Quality, frame rate, format, countdown, and audio. | Open → |
| Manage a recording | Play, edit, download, publish, share, delete, and transcribe. | Open → |
Draw, chapter, and snap while you record
Annotate the screen live with Draw, drop Chapter markers as you go, grab stills with Snap, and use PIP and Pan to focus attention — all without stopping the recording.
What’s next
- Open the recording studio and hit Record.
- Set your quality and format first.
- Then manage, publish, and transcribe your captures.