
+ Add Asset is how your own files get into the library, ready to use across campaigns, posts, ads, and email.
Where to find it: Left menu → Marketing → Content → Library → + Add Asset (the page is titled Content). Part of the Content guide.
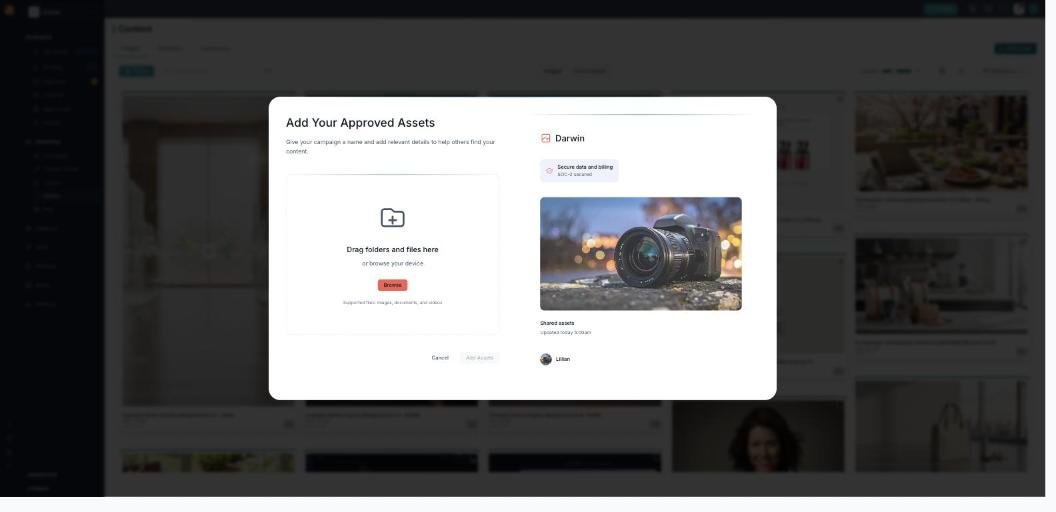
Add Asset — drag in your files, or browse for them.
Uploading
Drag folders and files onto the dialog (folders are added with everything inside them), or Browse your device. Supported types and size limits:
| What | Details |
|---|---|
| Images | JPEG, PNG, GIF, WebP, SVG. |
| Video | MP4. |
| Documents | PDF. |
| Max size | 10 MB for images and documents, 100 MB for video. |
Each file shows a preview, its size, and a × to remove it (or Remove all). Files are stored privately on secure (SOC-2) storage and served through short-lived links — never a public URL. On upload, image dimensions are read automatically and a thumbnail is generated for videos; each file shows a progress bar, and a failed one offers Retry.
Where new uploads land
New assets attach to your currently selected brand and the category you’re viewing, so they’re easy to find later. Depending on your workspace’s autonomy setting, an asset may arrive approved or sit as pending until a reviewer approves it.
After uploading
Once a file is in the library you can polish it without leaving the page:
- Edit & enhance — crop it, remove the background, or upscale it in the Image Editor.
- Smart tags — open an asset’s details and choose Analyze with AI so tags and colors are added and search can find it.
Stock images too
Don’t have the right shot? Switch to Stock Images in the library to pull royalty-free photos from Unsplash into your workspace alongside your own uploads.
What’s next
- Back to Content & the asset library.
- See Editing & enhancing images.
- See Templates.
- See Experiences.